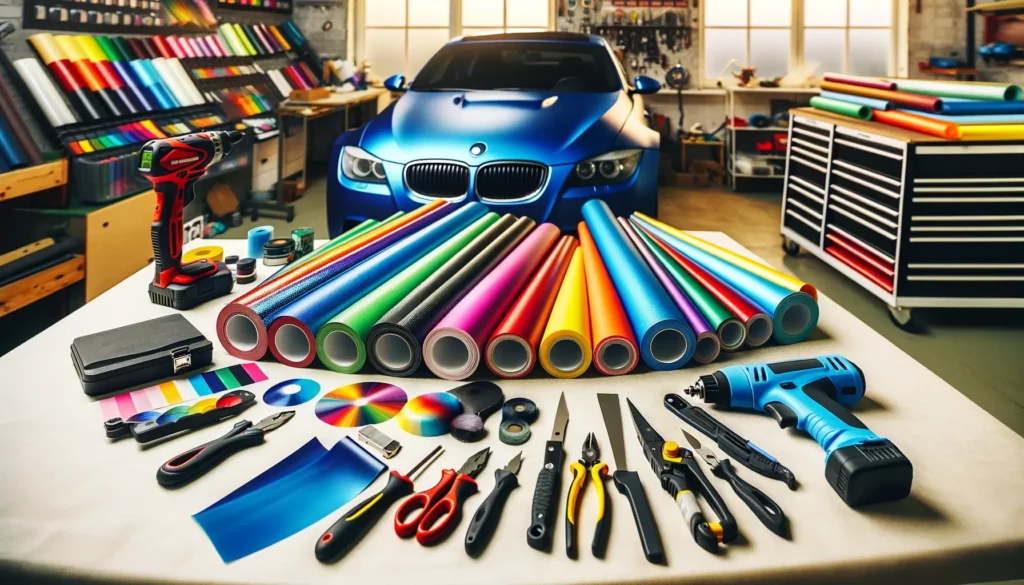
In the realm of automotive aesthetics, the application of vinyl wraps has seen a significant surge in popularity. The potential for transformation and personalization, combined with a more affordable price point compared to a full respray, has made this option increasingly attractive to vehicle owners.
However, to successfully navigate the world of vinyl wrapping, it is essential to grasp the fundamental principles behind it. This discussion will cover the main components and processes involved in vinyl wrapping, providing you with the foundational knowledge required to embark on your own vinyl wrapping journey.
The following topics will unveil what lies beneath the glossy sheen of a vinyl-wrapped car, inviting your curiosity to further explore this fascinating subject.
Understanding Vinyl Wrap Materials
Frequently overlooked, the selection of the appropriate vinyl wrap material plays a pivotal role in the overall success of your wrapping project, with its properties determining both the ease of application and the longevity of the wrap.
Vinyl wraps predominantly fall into two categories: cast and calendered. Cast vinyl, being thinner and more flexible, is ideal for complex surfaces, offering durability and conformability. Conversely, calendered vinyl, more affordable and thicker, is suitable for flat surfaces, yet may not stand the test of time as effectively.
Understanding these distinctions can foster a sense of belonging amongst beginners, underpinning their ability to make informed decisions. Ultimately, the choice of vinyl wrap material should be dictated by your project’s specific needs and constraints.
Step-by-Step Vinyl Wrapping Process
Having determined the appropriate type of vinyl wrap for your project, the next crucial step involves understanding the meticulous process of vinyl wrapping.
This process can be simplified into three key stages:
- Preparation: This involves cleaning the surface to remove dust, grease, or wax. A clean, smooth surface ensures optimal adhesion and finish.
- Application: With a heat gun and squeegee, carefully apply the wrap, ensuring it’s free of air bubbles or creases. Patience and attention to detail are vital here.
- Post-Application: Once applied, post-heating is necessary to set the wrap and enhance its durability.
Mastering these stages will help you achieve a professional finish, thus fostering a sense of accomplishment and belonging in the vinyl wrap community.