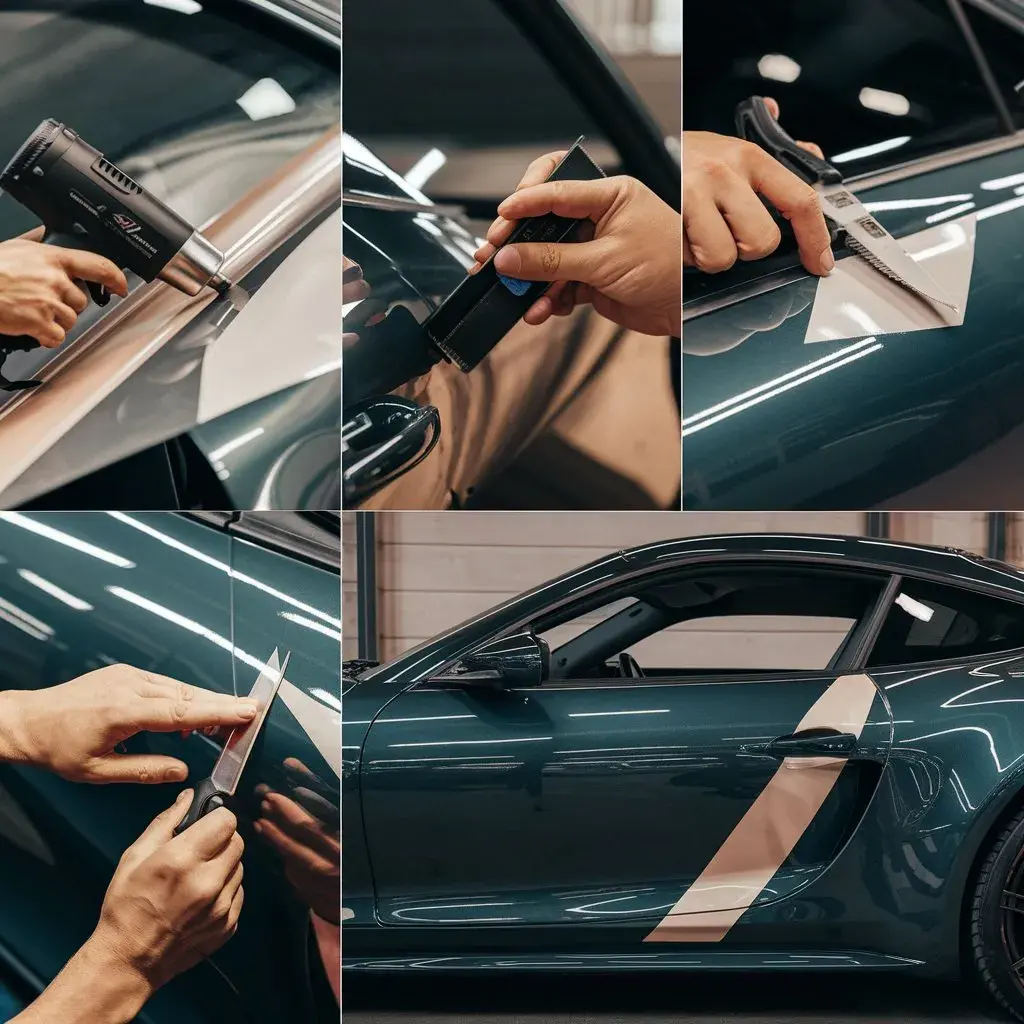
The process of applying a vinyl wrap to a vehicle, whilst initially appearing daunting, can be successfully accomplished with a thoughtful, methodical approach and the correct tools at your disposal. This do-it-yourself endeavor requires meticulous preparation, a thorough understanding of the material, and a steady hand for application, but the end result can be a transformative aesthetic enhancement for your vehicle.
This discussion will provide comprehensive, step-by-step instructions on how to undertake a DIY vinyl wrap project, striking a balance between the need for precision and practicality. Our exploration will commence with the essential preparatory steps, setting the stage for a smoother application process and ensuring a satisfying, professional-grade finish.
Preparing Your Vehicle for Wrap
Before proceeding with the vinyl wrap application, it is absolutely essential to meticulously prepare your vehicle to ensure optimal adherence and longevity of the wrap.
Initiate the process by thoroughly washing your vehicle, removing dirt, grime, and wax that could interfere with the wrap’s adhesion. It’s crucial to focus on areas often overlooked, such as door jambs, wheel wells, and under the hood.
After washing, use an alcohol-based cleaner to eliminate any remaining residues. Remember, even the smallest particle of dust can affect the wrap’s durability. Consequently, consider using a clay bar to remove microscopic contaminants.
Step-by-Step Vinyl Application Process
Embarking on the vinyl application process, it is imperative to follow a meticulous, step-by-step procedure to ensure the wrap’s flawless finish and durability. The process begins with:
- Preparation: This involves cleaning the surface and removing any protruding parts like mirrors or handles for a smooth application.
- Application: The vinyl wrap is carefully aligned and applied, starting from the center and moving towards the edges. It’s essential to use a squeegee to press down the wrap to release any trapped air bubbles.
- Post-installation: After application, a heat gun is used to secure the wrap and edges are trimmed for a perfect finish.
Each step requires attention to detail, patience, and precision. By adhering to this process, you’ll achieve a professional-grade vinyl wrap application.