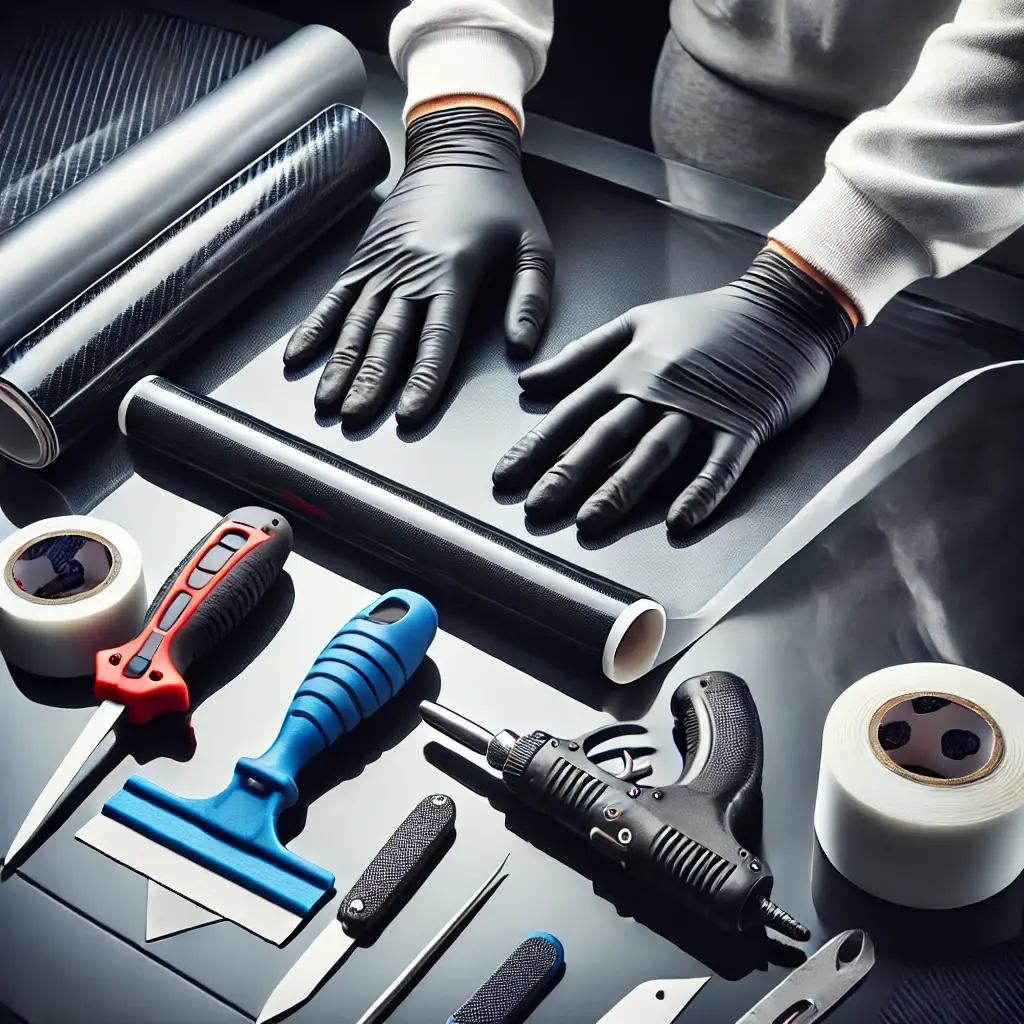
Vinyl wraps have revolutionized the fields of advertising, automotive aesthetics, and personal customization, offering a cost-effective and versatile alternative to traditional paint jobs.
As the popularity and demand for these wraps continue to surge, it becomes increasingly important to understand the intricacies of vinyl wrap application and installation.
This comprehensive guide will provide a deep and detailed insight into the various aspects of vinyl wraps, including the understanding of vinyl wrap materials and a step-by-step guide to vinyl wrap installation.
With the right knowledge and tools, one can transform a simple sheet of vinyl into an artistic or promotional masterpiece.
Please join us as we navigate through this intriguing world of vinyl wraps, and discover how this material can be manipulated to create stunning visual effects.
Understanding Vinyl Wrap Materials
Delving into the realm of vinyl wrap materials is essential. It’s crucial to discern the different types and their unique properties to ensure optimal application and durability.
The primary types of vinyl wraps include cast and calendared vinyl. Cast vinyl, known for its thinness and flexibility, is ideal for complex surfaces due to its ability to conform and adhere. Conversely, calendared vinyl, thicker and less conformable, is best suited for flat surfaces or simple curves.
Each type has distinctive durability and performance characteristics, making the selection process crucial based on the intended application’s specific needs. By understanding these materials, users can ensure the longevity of the vinyl wrap, preserving its aesthetics and functionality over time.
Step-by-Step Vinyl Wrap Installation
Initiating the process of vinyl wrap installation demands meticulous attention to detail, precise execution, and adherence to the following step-by-step procedure to guarantee a flawless finish and long-term durability.
- Preparation: Firstly, clean the surface thoroughly to remove any dust or grime. This ensures a smooth application and reduces the chance of bubbles forming under the wrap.
- Application: Carefully align the vinyl wrap with the surface. Start from the center and gently smooth out towards the edges, assuring no creases or bubbles form. Use a squeegee for better results.
- Finishing: After application, heat the wrap slightly and press down to ensure it fully adheres. Finally, trim off excess vinyl for a neat finish.
This precise method ensures a professional-looking, long-lasting vinyl wrap installation.