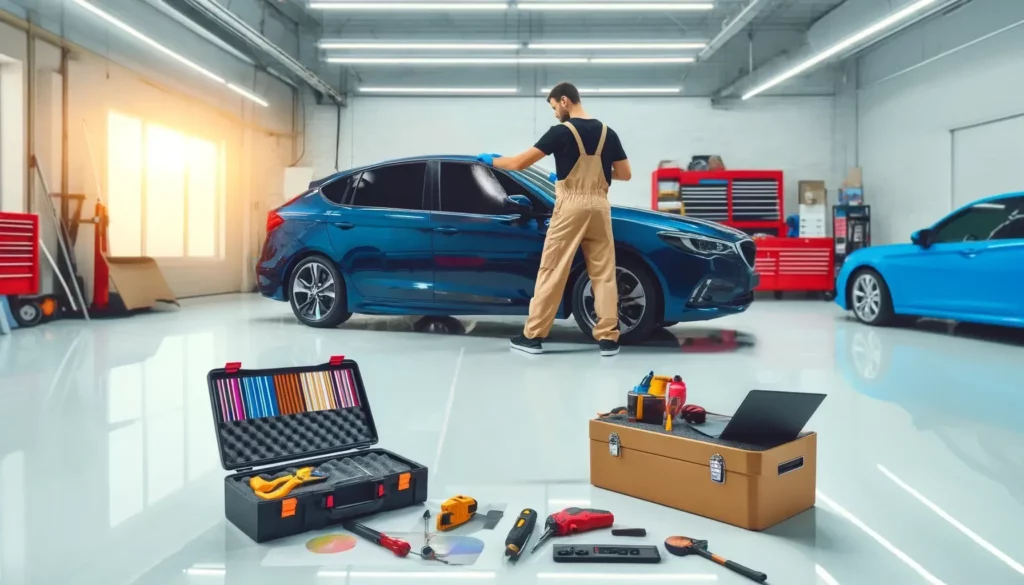
In the realm of automotive customization, window tinting holds a unique intersection of aesthetic enhancement, privacy improvement, and solar protection.
However, proper execution of this task is of paramount importance to ensure longevity and compliance with legal guidelines.
As a professional with extensive experience in this field, I have compiled a comprehensive checklist for auto window tinting installations. This checklist, rooted in industry-standard practices, is designed to guide both novice and experienced tinters through the process efficiently.
Let’s embark on this exploration, and you’ll see why mastering this checklist could transform your approach to window tinting.
Pre-Installation Preparations
Before we delve into the actual process of auto window tinting installation, it is crucial to understand the importance of comprehensive pre-installation preparations to ensure a smooth and efficient operation. This involves a systematic approach that starts with a thorough inspection of the vehicle’s windows for any cracks, chips, or other imperfections. These abnormalities must be repaired or the window replaced entirely to ensure the longevity of the tint.
Next, a meticulous cleaning process is necessary to remove any dirt, grime, or adhesive residue. The window surface must be perfectly clean to allow for proper adherence of the tint film.
Following this, precise measurements of the window are required for an exact fit. These vital steps constitute the essence of pre-installation preparations.
Step-by-Step Tinting Process
Embarking on the auto window tinting process, once the necessary pre-installation preparations are completed, involves a meticulous progression of steps, beginning with the precise cutting of the tint film. This is a critical step where accuracy is paramount to ensure the film perfectly fits the window.
To ensure a flawless installation, the following steps are taken:
- The window is thoroughly cleaned to remove any debris or dust.
- The film is carefully applied to the window, ensuring that it aligns perfectly.
- A squeegee is then used to flatten the film and remove any bubbles.
- Finally, the film is left to dry completely, often for a few hours, before the vehicle is used.
Each step is executed with precision, maintaining utmost professionalism and dedication to achieve the desired result.