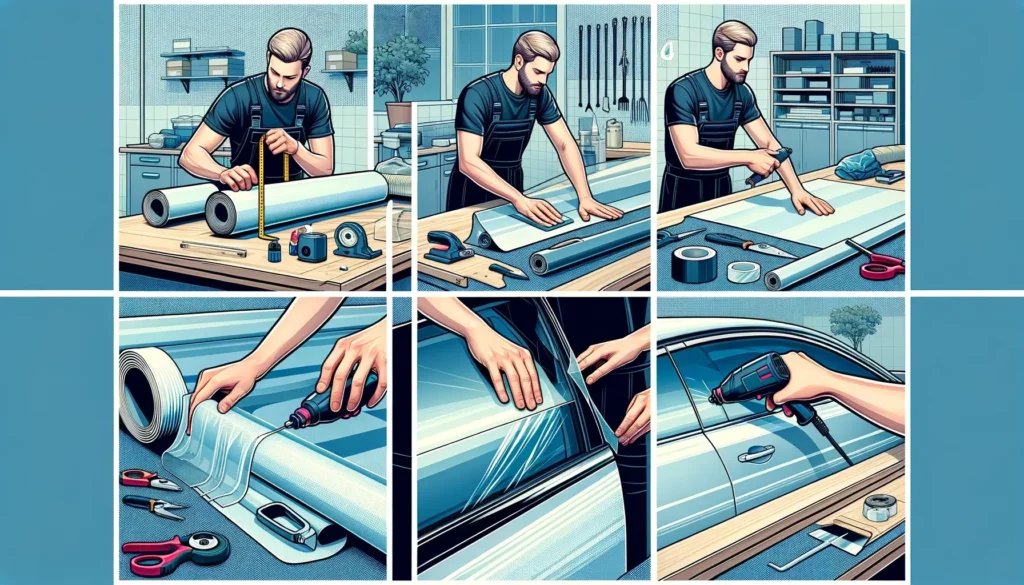
Auto window tinting is a delicate task that requires a precise and methodical approach. This process, while appearing simple on the surface, entails a series of intricate steps that will test your patience and dexterity.
Our discussion today will revolve around providing you with a comprehensive guide to achieve a professional and sleek tint job for your auto windows. We will commence by discussing the importance of selecting the right tint material, progressing to a meticulous step-by-step guide to the installation process.
This guide promises to equip you with the requisite knowledge and skills to carry out this task with finesse and precision. As we progress, you will find that the art of window tinting is not just about enhancing your vehicle’s aesthetic appeal, but it also offers numerous benefits that are crucial for your comfort and safety.
Choosing the Right Tint Material
In the realm of auto window tinting, the selection of an appropriate tint material plays a pivotal role in ensuring optimal performance and longevity. The choice of tint material can significantly impact the durability, aesthetics, and functionality of the tint job. Among the popular options are dyed, metallic, ceramic, and carbon tints, each offering unique benefits and potential drawbacks.
Dyed tints, for instance, provide privacy and block sunlight but can fade over time. Metallic tints, on the other hand, offer excellent UV protection and durability, but can interfere with cell phone signals. Ceramic and carbon tints offer superior heat rejection and UV protection, albeit at a higher cost. Understanding these nuances is key to making an informed decision that aligns with your specific needs and budget constraints.
Step-by-Step Tint Installation Process
Once the appropriate tint material has been selected, the meticulous process of professional auto window tinting installation commences. This involves a series of steps carried out with precision and expertise.
- Preparation: The windows are thoroughly cleaned and dried. This is a critical step as any dirt or moisture could interfere with the adhesive properties of the tint.
- Tint Cutting: The tint material is meticulously cut to match the exact shape and size of the window.
- Application: The tint is carefully applied to the interior side of the window, ensuring a perfect fit with no bubbles or creases.
- Curing: Finally, the tinted window is left to cure for a specific period. This allows the adhesive to bond securely with the glass, ensuring a long-lasting and professional finish.
Following these steps guarantees a flawless installation that enhances your vehicle’s aesthetic and functionality.